Showing posts with label 2014 Quilts. Show all posts

Wednesday, October 15, 2014

Cascade Blog Tour + a giveaway!


Hi friends, and welcome to those new readers that are visiting from the Cascade Blog Tour! 

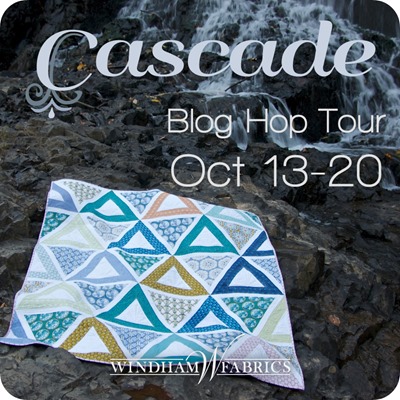
Cascade blog hop

I’m happy to be a part of the Blog Hop for Jessica Levitt’s new fabric line called Cascade (Windham Fabrics).  Jessica’s inspiration for this line was the many colors and forms of water.  The name of it instantly reminded me of the Pacific Northwest where I grew up.  The Cascade mountain range is filled with such beauty- vast forests, rivers, waterfalls, lakes- and many, many bodies of water!   


Cascade color ways

You can read more about Jessica’s inspiration as she created this line here on her blog.  I really enjoy hearing every designer’s inspiration and thought process as they create a new line.  So interesting!

I had the chance to work with some of the fabrics to create a table runner for Jessica’s quilt market booth.  Aren’t these lovely? 

cascade fabric

The table runner I created is made up of just four blocks from one of my newest patterns.  The quilt pattern is called “Division” and will be available for purchase later this week.  I’ll be talking more about Division in my next blog post.

Cascade Table Topper

Ok confession time.  I actually made two table toppers.  The topper in these photos was version #1, with soft, wavy (water-like) quilting lines.  I wasn’t happy with the result however, so instead of unpicking all of that quilting, I just made another one and gave it the straight line quilting treatment.  Much better!  So that’s the one that I sent off to Jessica!  You can see a little of the wavy quilting lines in this photo below -

Cascade Table Topper

Here’s a pic of the second topper with the straight line quilting.  This photo below is from the Cascade look book, where you can get a good look at more projects using Cascade fabrics!  To see the whole collection, visit the Windham Fabrics site here. 

Cascade Table Topper


Be sure to visit the other stops along the blog hop and check out the fun projects that others have made with Cascade!

Monday October 13th - Jessica Levitt - Juicy Bits / Windham Fabrics
Tuesday October 14th - Julie Herman - Jaybird Quilts / Jenn Nevitt -knit ’n lit
Wednesday October 15th - Amanda Kattner - What the Bobbin / Andy Knowlton – A Bright Corner
Thursday October 16th - Marci Debataz - Marci Girl Designs / Jennifer Auh Chon - Sunny in Cal
Friday October 17th - Angela Walters - Quilting is my Therapy / Rachel Gander - Imagine Gnats
Saturday October 18th - Elizabeth Timmons - and pins / Andrea Taddicken - knitty bitties
Sunday October 19th - Erin Erickson - Dog Under my Desk / Jessica Skultety - Quilty Habitt
Monday October 20th  - Caroline Press - Trillium Design / Karin Jordan - Leigh Laurel Studios


Giveaway time!  Windham fabrics is giving a fat quarter bundle of Cascade to one of my lucky readers!  To enter simply leave a comment below - just one!.  I’d love to hear what your favorite body of water is.  Do you have a favorite local lake or river?  My current favorite is a spot called Bridal Veil Falls here in Utah.  Simply gorgeous – all year ‘round!  The giveaway will close at midnight (MST) on Tuesday, October 21st.  If you’re a no-reply blogger be sure to leave an email so I have a way to contact you if you win!  I'll draw the winner using a random number generator and announce it here on Oct 22nd.

 Good luck!  And thanks for stopping by!

edited to add:  Giveaway is now closed - thanks for entering!


Friday, October 10, 2014

Whirled

 I think I might have just set a personal record.  I just did a quick count and realized that I’ve made 8 complete quilts and 3 quilt tops in just under 4 weeks.  Oi vey.  I need a vacation!

The quilts do make for a pretty stack on my cutting table though!  I can’t wait to share them all with you!

Whirled Quilt by A Bright Corner

This quilt was my most recent finish.  It’s made from my Whirled quilt pattern and I used that cute retro alarm clock print from Lori Holt’s Gracie Girl line as the jump off point for choosing the rest of the fabrics.  I’ve been waiting for the chance to use that print in a way that would let it be the star and I’m really happy with how it turned out. 

Retro Alarm Clocks

The Whirled pattern has instructions for three sizes - crib, throw, & twin.  The one I made here is the crib size, which I think also makes a decent lap or small throw size quilt  I guess everyone has their own idea of what a “throw” or “lap” size is right?  This one measures 50” x 64” so what would you call that?  It’s just the right size to throw over my lap while I watch tv or read, so I give it a thumbs up! 

Whirled Quilt pattern from A Bright Corner

 You can find Whirled for purchase as either a paper pattern or PDF (instant download) in my pattern shop here.

Thanks for stopping by!  Hope you have a wonderful Friday.  We’re celebrating my oldest son’s birthday today – I now am officially the mom of a teenager!  Yikes! 


Wednesday, October 8, 2014

University of Utah quilt

I feel like I need to begin with a brief disclaimer.  I am not a University of Utah Alum.  In fact, I attended their rival school, BYU.  At least they were rivals WAAAY back when I went to school.  Are they even rivals anymore?  I guess it depends on who you ask. 

University of Utah quilt

Anyway, my local quilt shop needed this quilt made as a display quilt and I had time so I volunteered.   It's a quick pattern - I think I had the quilt done in just a few days!  The quilt finished at 55" x 64" and I quilted it in an easy meandering pattern with some loops thrown in.  

University of Utah quilt

I’m not usually a fan of the red / black / white color combo, but once this quilt was finished I had to admit that it is quite striking.  In fact, my oldest son came in and proclaimed “I LOVE this quilt!  Can I have it?”  My response: “NO!  This quilt doesn't belong in our house.  I’ll make you another red / black / white quilt that has no affiliation with any University.”  Ha!  

[Quilt details:  A friend of mine wrote the pattern and the quilt shop has kits available now for both the U of U quilts and the BYU version.  If you're not local you can call the shop and order one over the phone: 801-225-3123]


Friday, September 5, 2014

An Irish Chain quilt and free quilt pattern

Are you ready for a red and white overload?  If you're not a fan of the red/white color combo then consider yourself warned.  You may just want to move on to the next blog post.

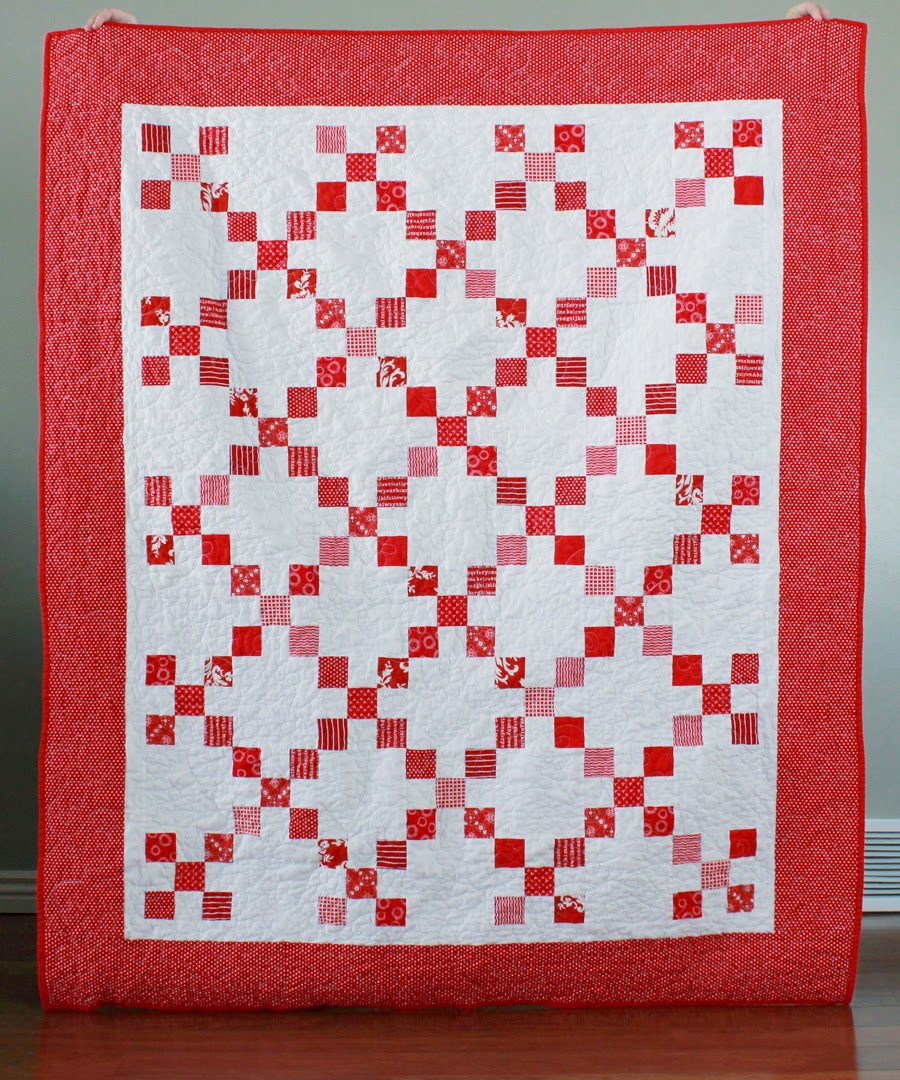
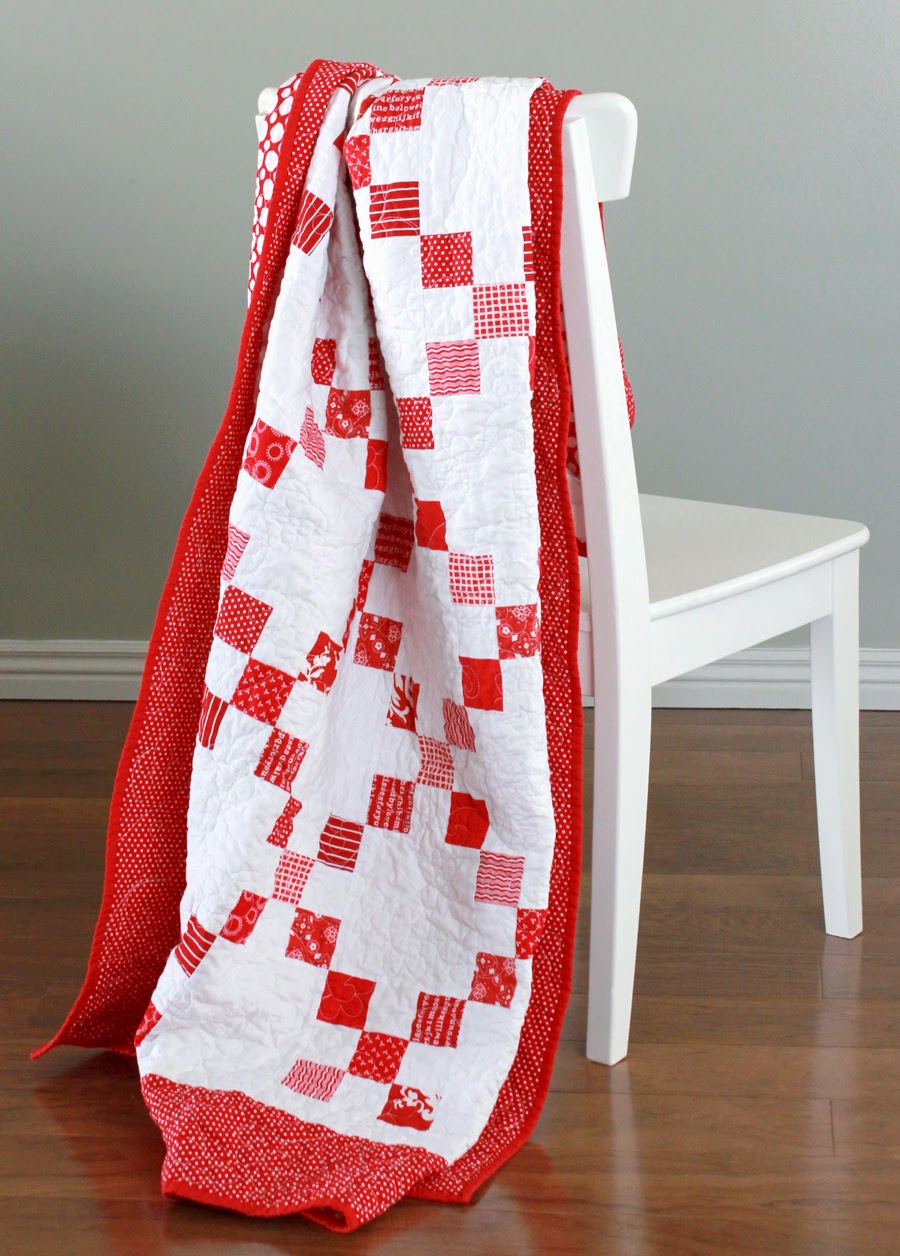
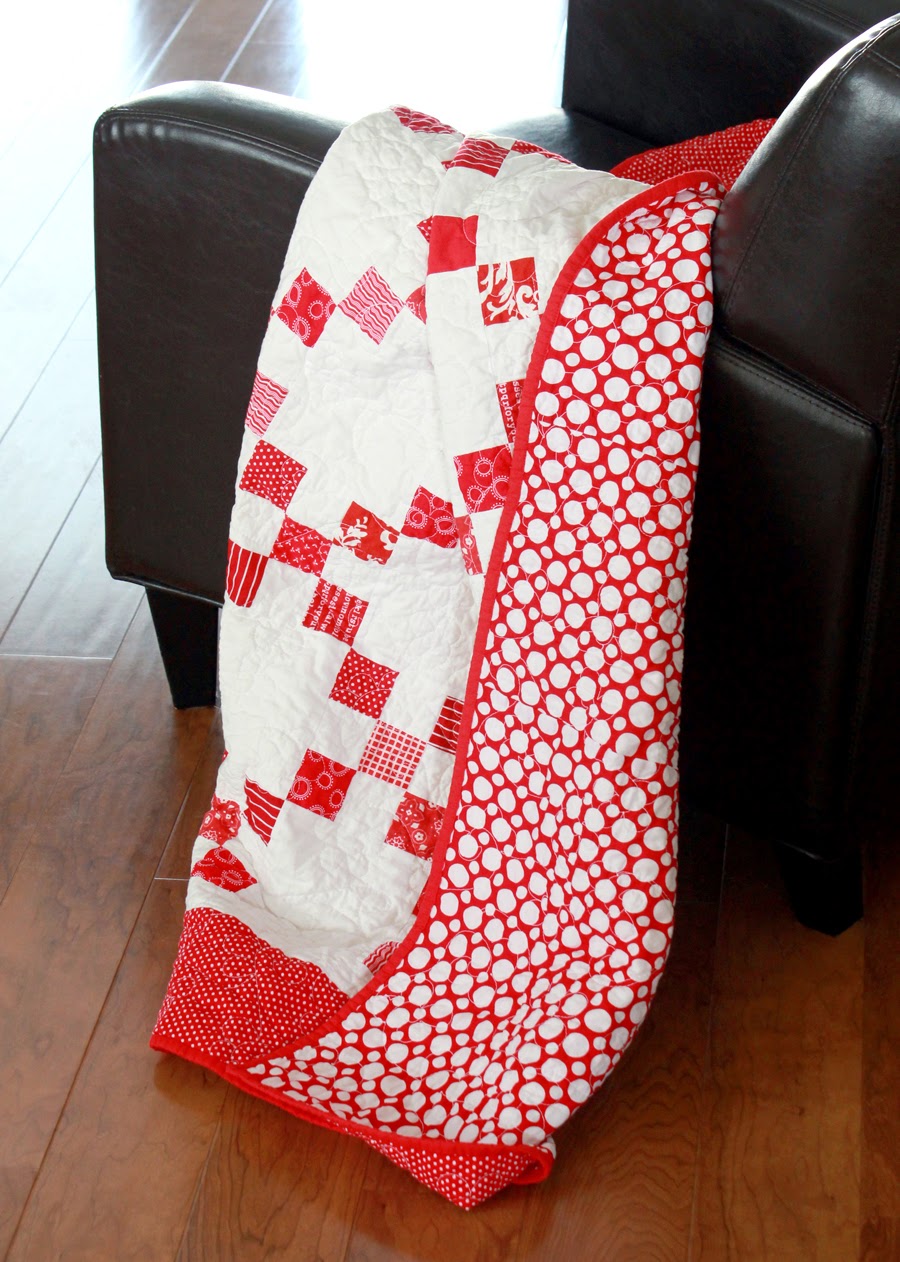
Back in April I was asked to make a quilt to donate to a charity auction.  I had a short amount of time to finish it, so I knew I needed something fast, but impressive.  A simplified Irish Chain quilt was the answer!  It needs just a handful of jelly roll strips and some background fabric and you're on your way.


Free Irish Chain quilt pattern by Andy Knowlton of A Bright Corner

Looking for the free Irish Chain quilt pattern? Get access to it here!


The center part of the quilt top is all strip pieced so it's quick to put together.

The addition of the white inner border and larger red outer border was an afterthought.  I got some helpful feedback from Instagram friends and added the borders.  I'm glad I did - I LOVE what the borders add!  (and side note:  I love Instagram.  The quilting community there is huge, very encouraging and quite inspiring!)

Irish Chain quilt pattern by Andy Knowlton of A Bright Corner


Once I had the quilt finished, I wrapped it up for delivery and then had a hard time letting it go!  So within a few weeks I had made another one - for myself.  To keep.  I changed a few things up so I'm saving that one to show another day.   

Irish Chain quilt pattern by Andy Knowlton of A Bright Corner


Since then (and with the blog post about my most recent Irish Chain quilt) I've had a lot of questions about how I made my quilts. I decided to just write up a pattern and offer it as a free gift for my newsletter subscribers - access it here! The finished quilt measures 56" x 68".

If you make an Irish Chain quilt I'd love to see it!  Tag me on Instagram  @abrightcorner or Facebook.

Access the Free Irish Chain downloadable PDF pattern


Sign up for my newsletter

Follow me on Pinterest


Wednesday, September 3, 2014

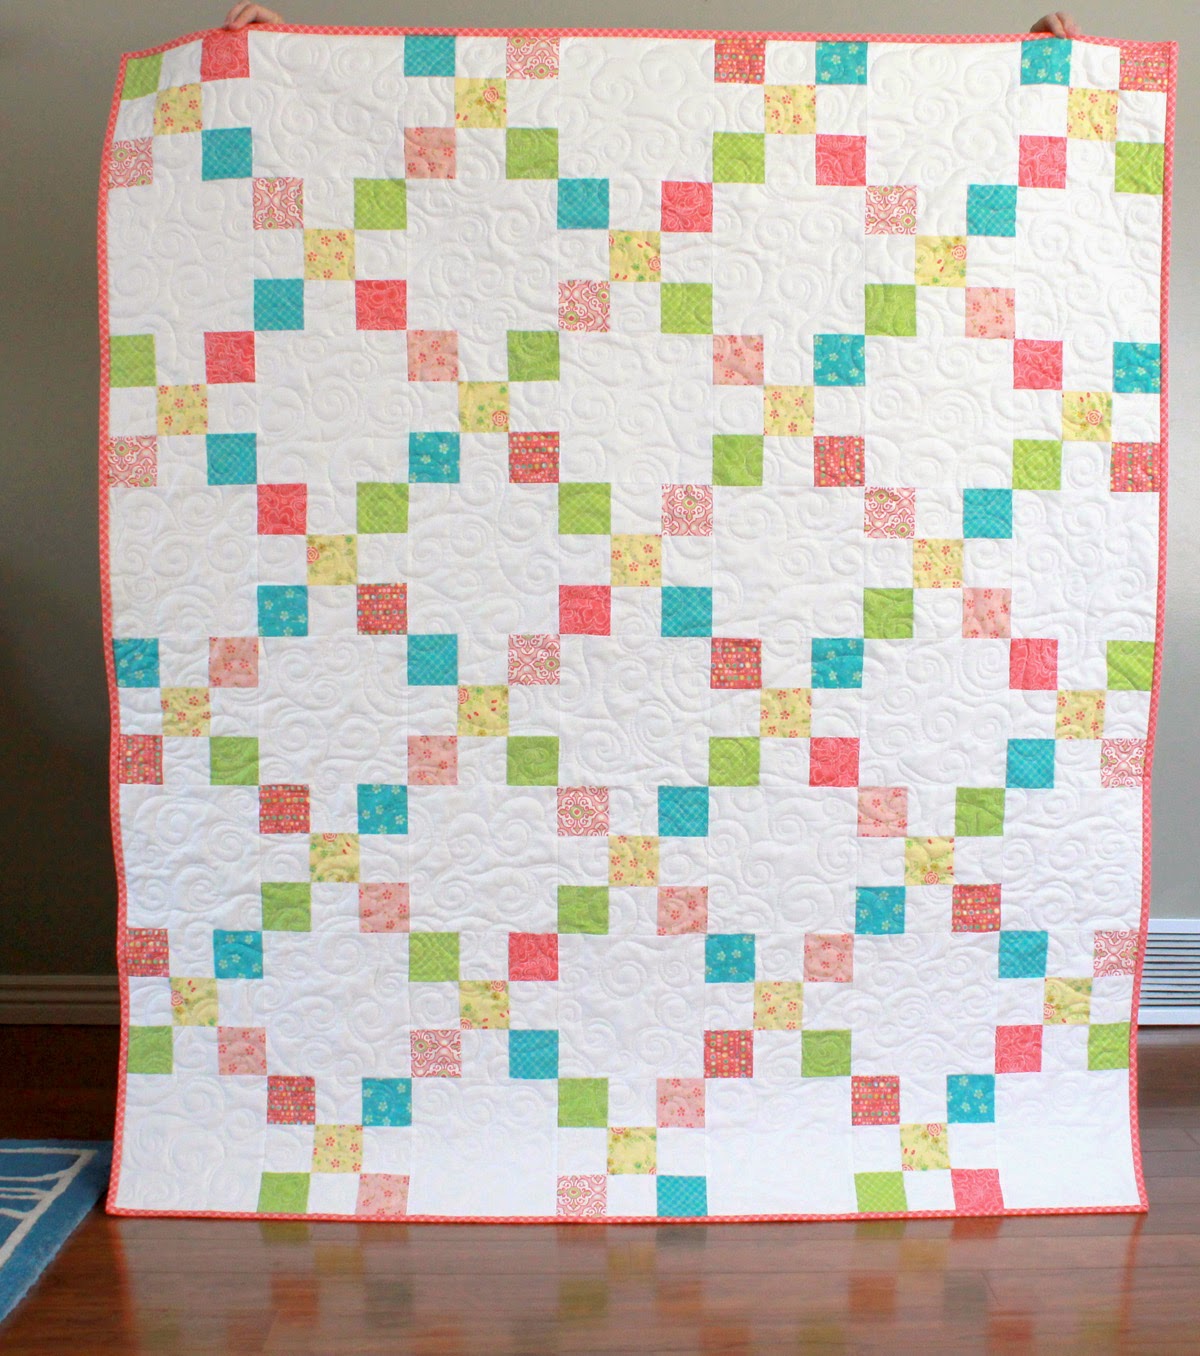
Chance of Flowers Irish Chain quilt


Chance of Flowers Irish Chain quilt

This afternoon I had a few quiet minutes to myself so I hurried and put the binding on this flowery irish chain quilt.  

This is the third irish chain quilt that I've made this year and it's safe to say that this pattern is now one of my go-to favorites.  It whips up so quickly and it is a great way to use up any 2.5" or 3" squares (or strips) that you may have on hand.  

2024 edited to add: There's now a free PDF quilt pattern available for this quilt! I offer this as a gift for all of my newsletter subscribers and you can access it here.

It's a fast and fun, jelly roll friendly quilt pattern that you're going to love!

access the free Irish Chain quilt pattern here


Chance of Flowers Irish Chain quilt

As I was doing the binding I decided that this is pink plaid one of my most favorite binding prints.  I've used it on two different quilts now, and I have enough yardage left to use it on maybe two more bindings!  (All of the prints used on this quilt are from the Chance of Flowers line by Sandy Gervais)

The perfect fabric for a quilt binding!

This quilt got the "swirly ribbons" treatment for quilting design.  I've been doing so many variations of swirls lately that somewhere mid-quilt I think I started doing kind of a loopy-swirl thing but then I got myself back on track.  Haha!

Chance of Flowers Irish Chain quilt

The finished measurements are 53" x 60" and now I think I'll give it a wash to let it get all nice and crinkly!

Monday, August 25, 2014

Simple Gifts Baby Quilt (and tutorial!)

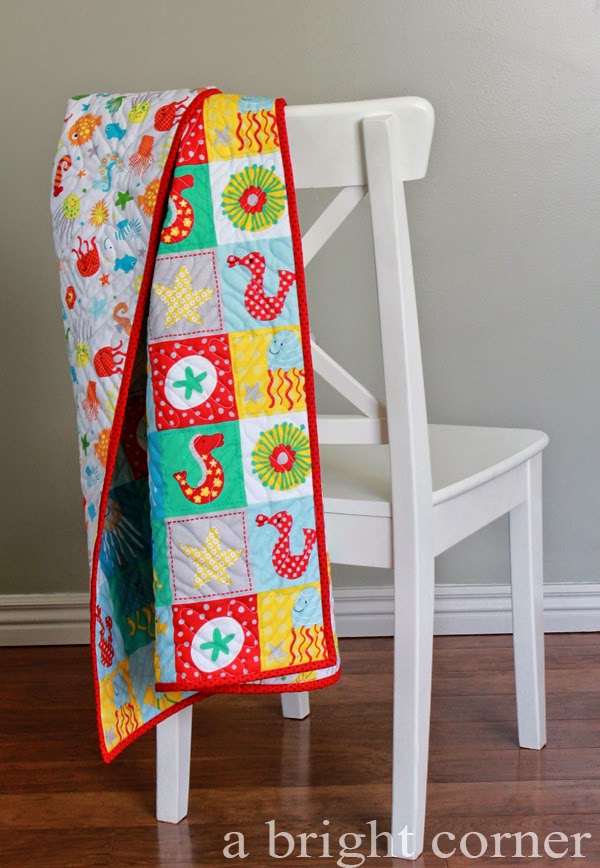
Last week I whipped up a quick and easy baby quilt for a friend of mine.  I used a tutorial that I wrote  a couple of years ago called the "Simple Gifts Baby Quilt tutorial".

Quick and easy baby quilt - with a tutorial!

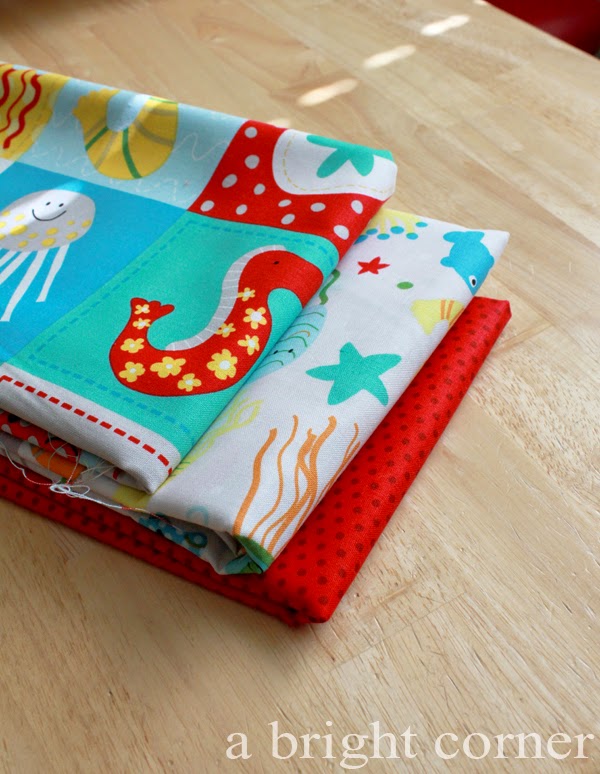
I bought this stack at my local quilt shop - just 1-1/4 yard cheater panel for the quilt front and 1-1/4 yard of backing.  For the binding I needed 1/3 yard, and for the batting I had a leftover piece that was big enough - perfect!  

side note:  I LOVE using up those smaller, leftover pieces of batting, don't you?  I feel bad throwing them away, so I stack them next to my shelf and hope that I'll need it eventually!

In The Ocean fabric stack

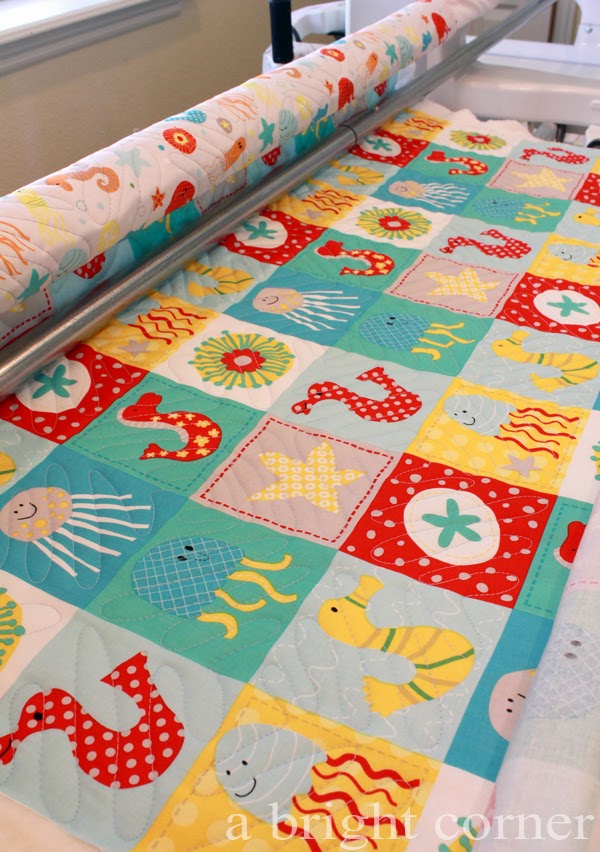
Instead of spray basting the quilt and quilting on my Juki, I loaded it on my HandiQuilter and did some alternating squiggly lines:

A quick and easy baby quilt - with tutorial!

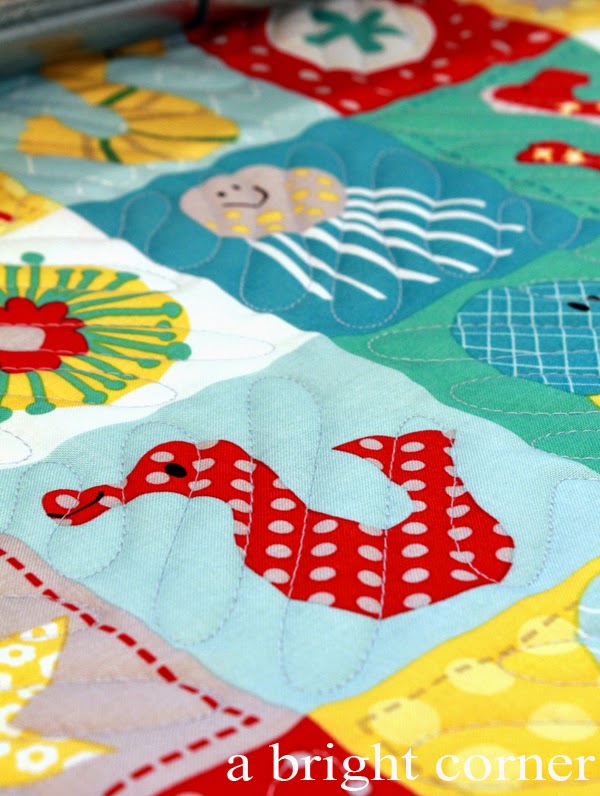
You can see the quilting a bit better in this photo.  For each square I alternated the direction of the squiggly lines.  It was a fun alternative to a regular meandering quilting design! 

Alternating squiggly line quilting

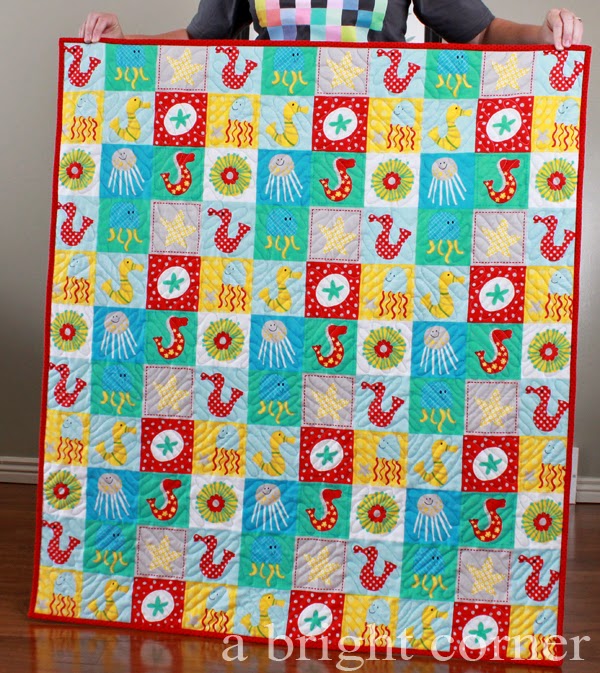
The quilt ended up measuring 38" x 42 and you can see in this photo what the cheater panel looks like.  I love the sweet little sea creatures!

[fabrics used for the quilt front and back are from the In The Ocean line designed by Lesley Grainger for Riley Blake]

A quick and easy baby quilt using a cheater panel


This little quilt was a fast and fun project!  It's all wrapped up and ready for giving.  Hope she likes it!


Thursday, August 21, 2014

Sun and Surf Quilt - all done!

I gave a sneak peek the other day of the finished Sun and Surf quilt - but here's the full quilt!  It's chock full of scrappy yumminess.  My most favorite part is the fact that it was made by 9 creative women and their lovely stashes.

I've mentioned it before, but in case you're new around here, I'm a member of the Imagine group of Do. Good Stitches.  [Read more about Do. Good Stitches here]  Honestly, being a quilter for a Do. Good Stitches group is one of the most fulfilling parts of my year.

Sun and Surf quilt

Back in March I asked each group member to make two blocks using scrappy mint and coral, with scrappy low volume backgrounds.  And boy did they!  It's always such a treat to open my mailbox and find two lovely blocks there waiting for me!


Once I had received all of the blocks I dug through my low volume scraps for the sashing and borders.  I used some scrappy coral bits for the posts and again for the binding.  Don't you just love a scrappy binding??  


I used a solid minty blue on the backing and used an all-over swirl quilting design.  I wanted to give the quilt a lot of motion.  It already had a lot because of the block design, but the swirls add even more!


So with one more DGS quilt completed, it's about time to start another!  September is my month to choose a block so I'm currently on the hunt for a fun block idea.  If you'd like to see more of the finished quilts made by all of the DGS groups, you can see them all here in this flickr group.


Friday, August 1, 2014

Jelly Roll Racin'


Confession:  I've never made a Jelly Roll Race Quilt.  Well, before last week anyway.  I just wasn't a fan.  

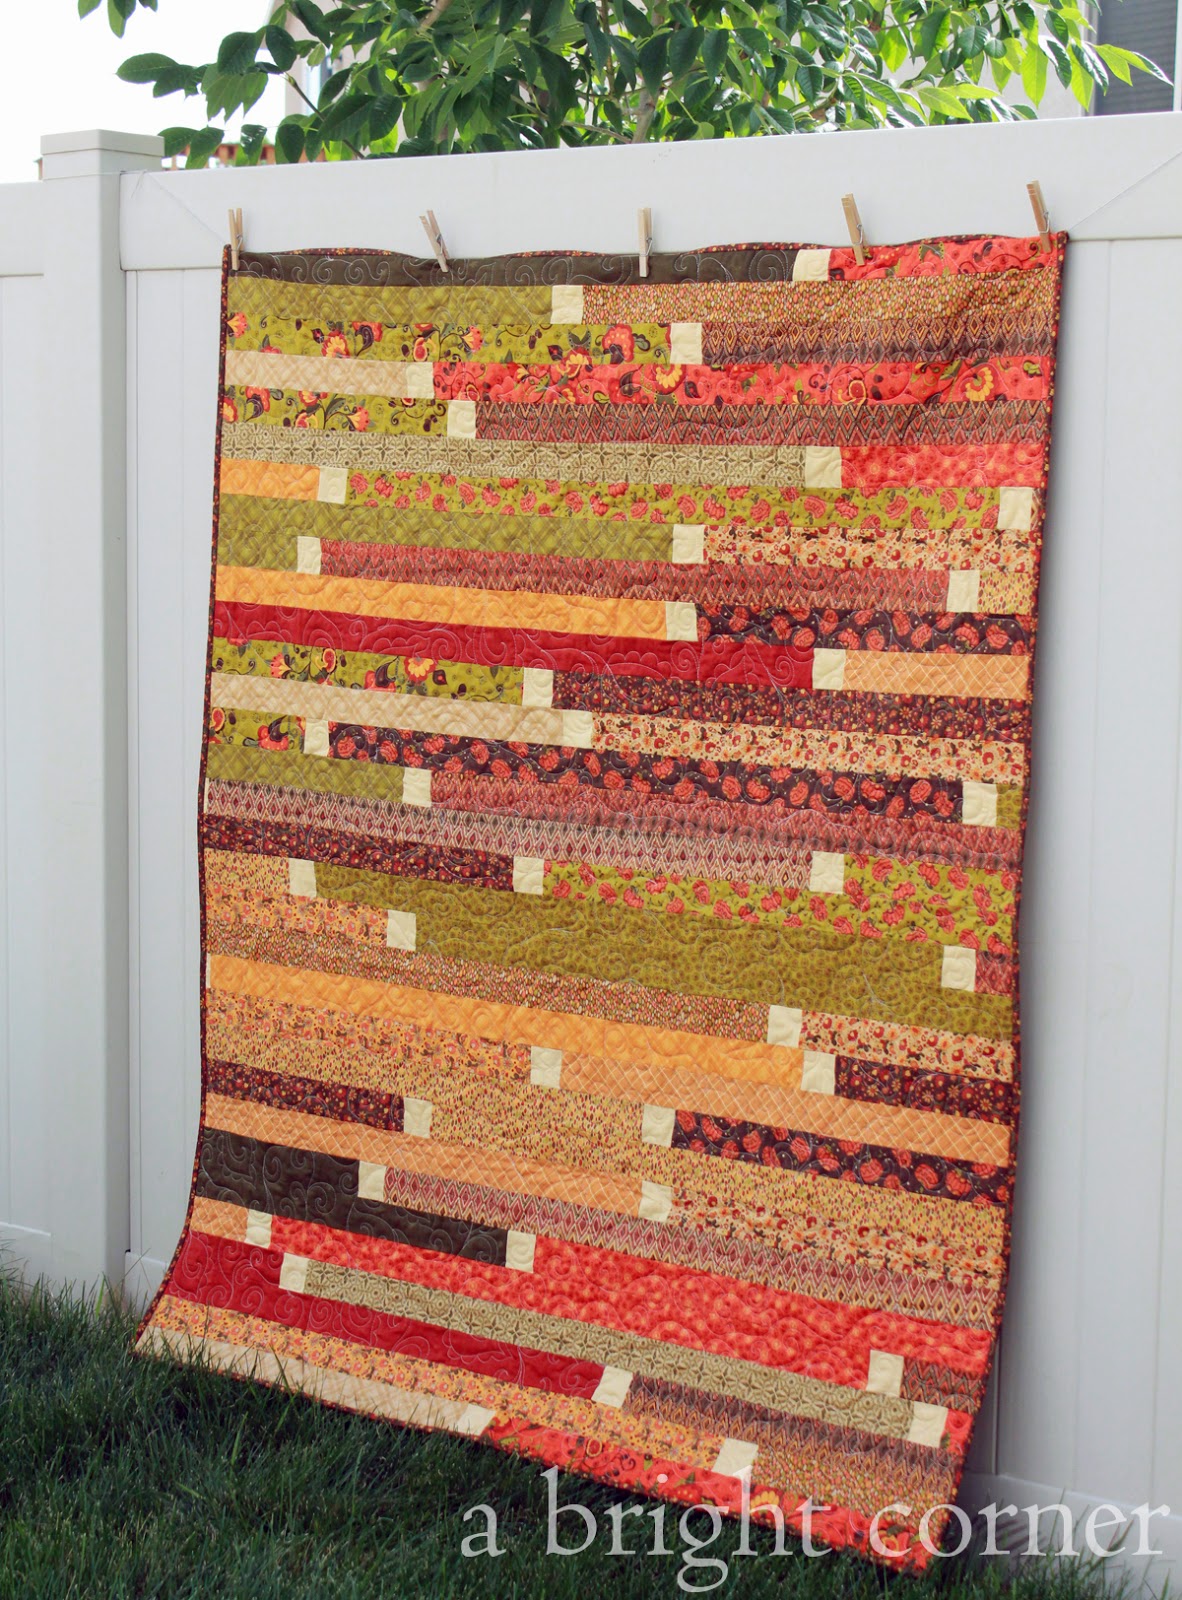
Jelly Roll Race Quilt in lovely fall colors!

But then the shop I work for needed one made and I volunteered.  I did a bit of searching on Pinterest and found a few that I loved that had these separating squares between the strips.  And I started to be converted.

When I sat down to start this quilt, I also started a movie.  I finished the quilt top before the movie was over.  No lie.  These Jelly Roll Race quilts really are that fast.

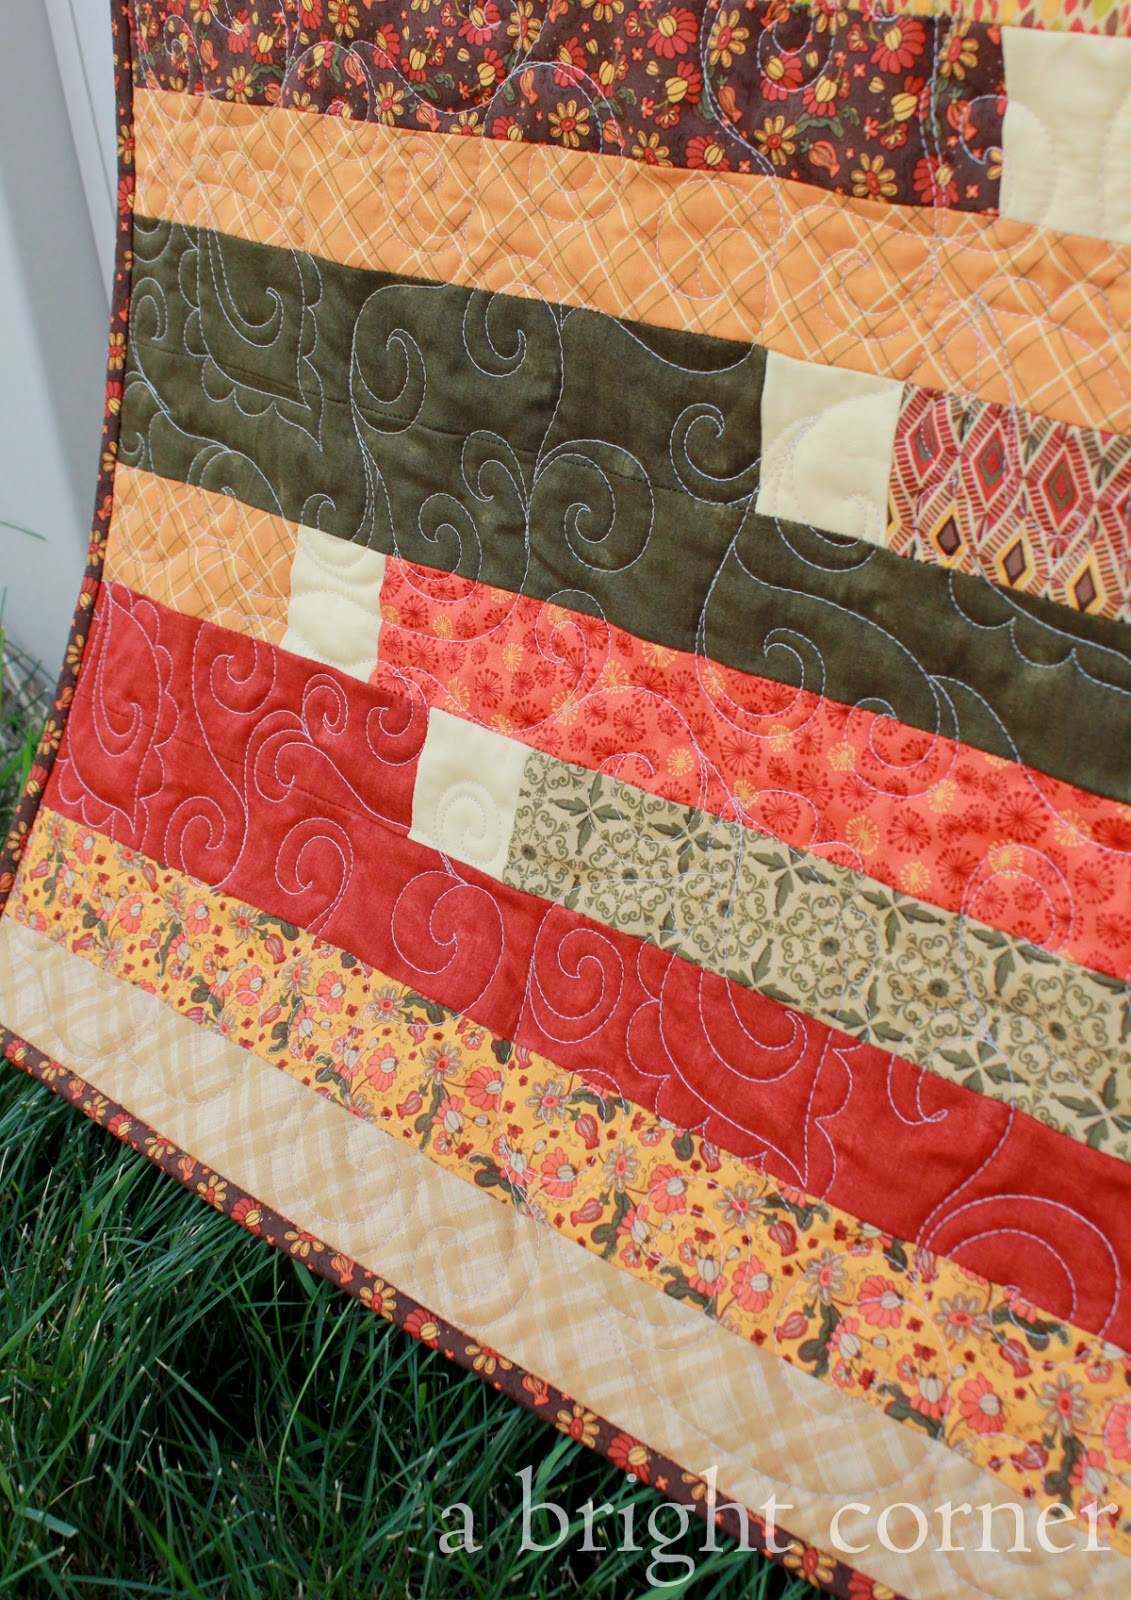
I quilted it the next day, using swirls and a paisley type design that sort of echoed what was in a few of the prints.  (I think all of these prints are from the Posh Pumpkins line by Sandy Gervais.)

Jelly Roll Race Quilt in lovely fall colors!

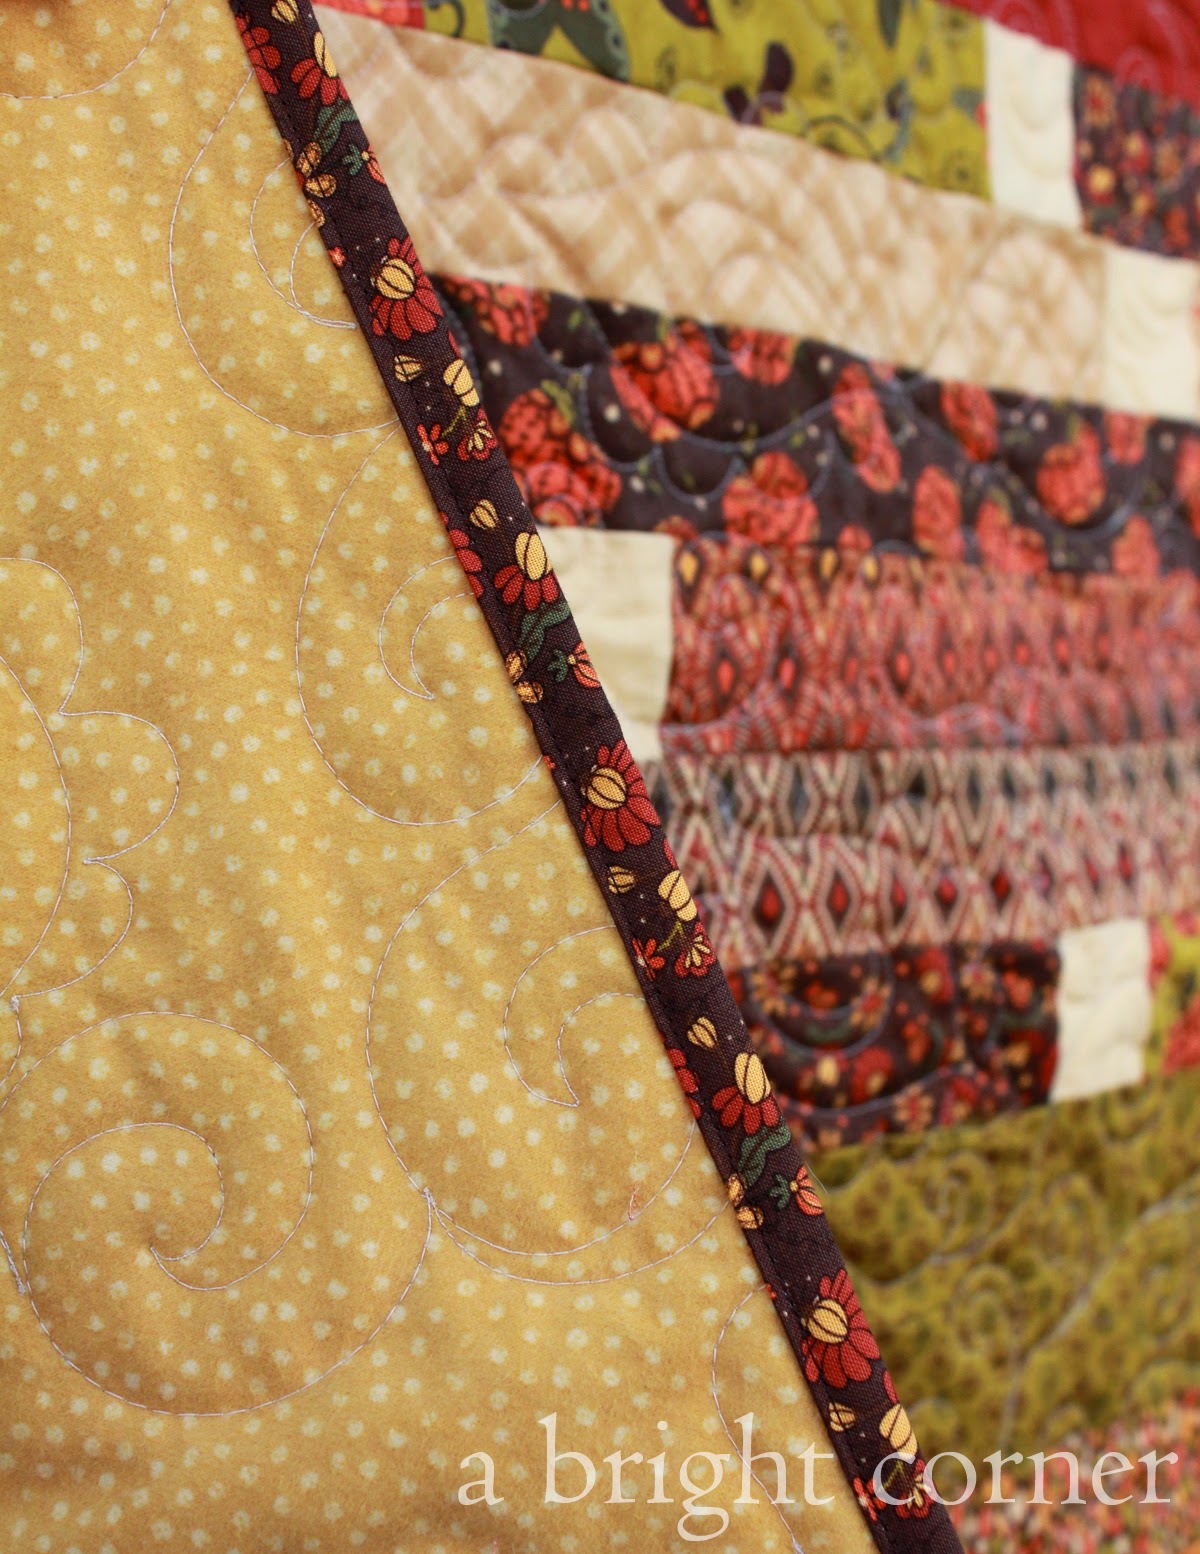
The backing is a nice, soft flannel which will be perfect come Fall!  

Jelly Roll Race Quilt in lovely fall colors!

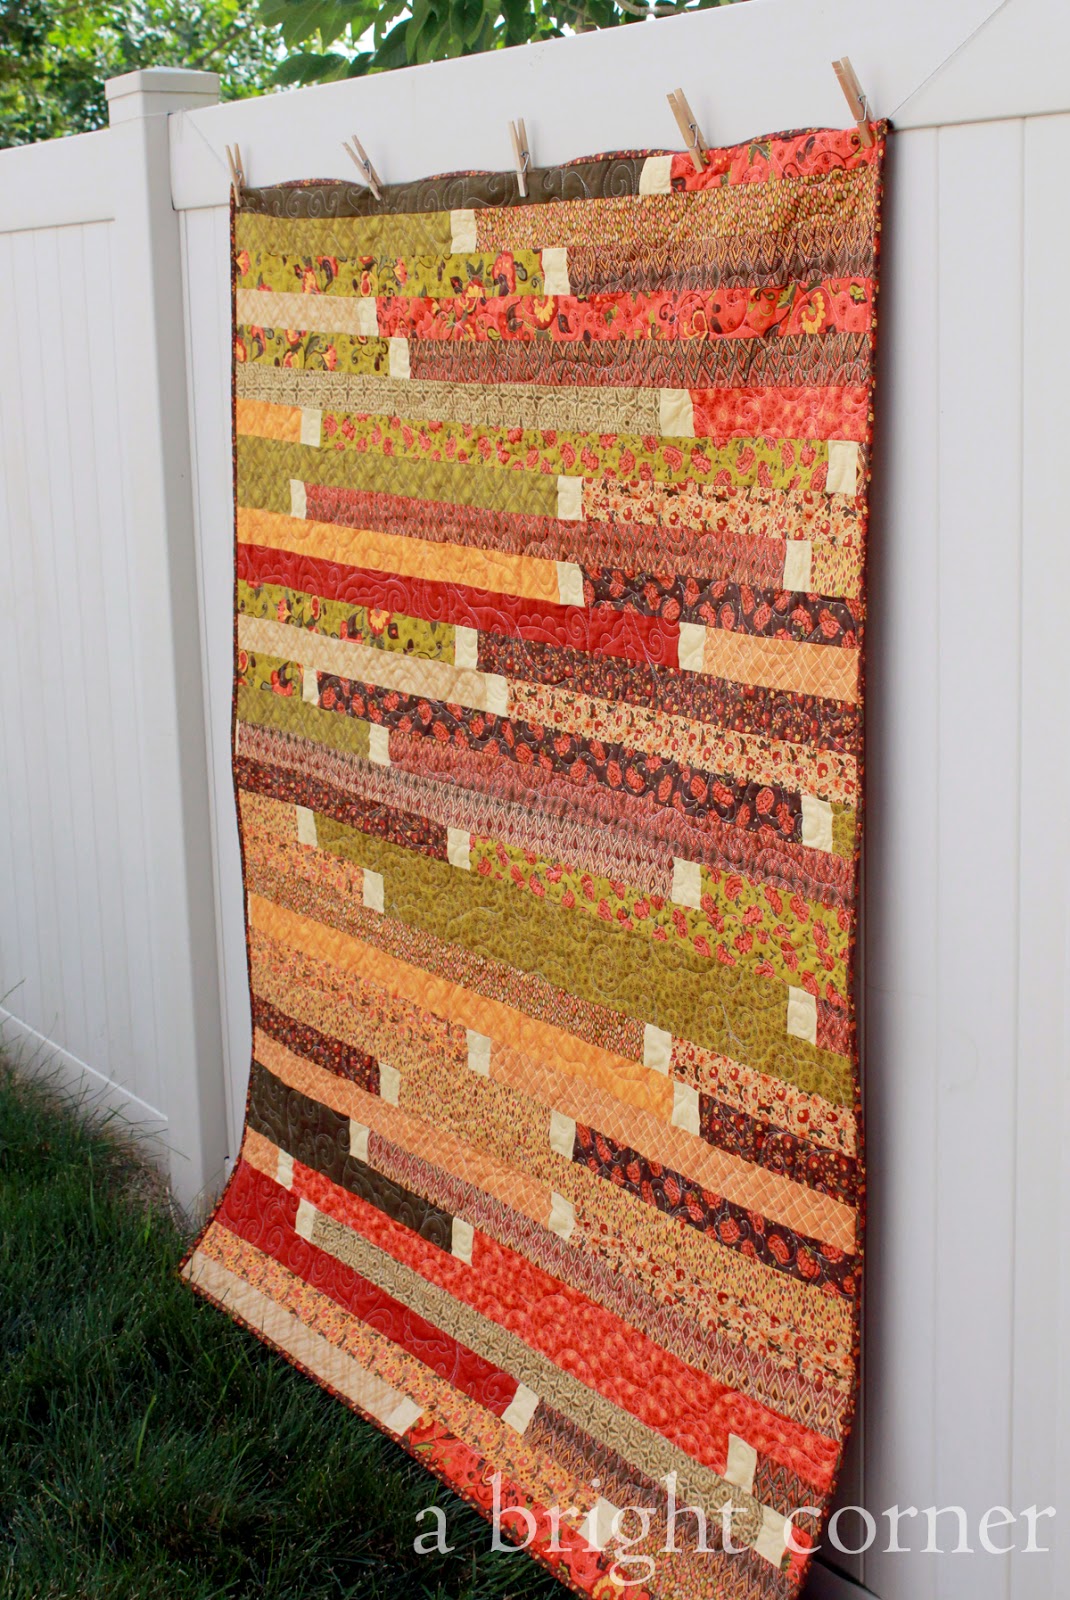
I know each Jelly Roll Race Quilt finishes at a different size - mine is 56" x 63" and I used 42 (2.5") strips and 41 (2.5") squares.  You can find the tutorial for the Jelly Roll Race quilt here.  Have you done the Jelly Roll Race??

Jelly Roll Race Quilt in lovely fall colors!


Wednesday, July 16, 2014

Seaside Squares

There are just a handful of quilts that I've finished over the past six years and for one reason or another have never appeared here on my blog.  This quilt is one of them.  It's called Seaside Squares and this is actually the second time I've made this quilt.

Seaside Squares quilt by Andy @ A Bright Corner

 I first talked about this quilt here - waaaaay back in the Summer of 2012.  The fabric line was brand new and I was instantly smitten with it. (By the way, the fabric line is called Seaside, designed by October Afternoon for Riley Blake.)

Seaside Squares quilt by Andy @ A Bright Corner

Fast forward to 2014.  My mom came to visit and decided she really liked this quilt so it went home with her.  At this point I had completely forgotten that this quilt was still listed for sale on Etsy.  You see where this is going?

Yep.  A couple of months after the quilt went to live at my mom's house, the quilt listing on Etsy sold.  I went to find the quilt to mail it off to it's new lovely owner and I COULD. NOT. FIND. IT.  My mom happened to be visiting again at the time and gently reminded me that she had taken that quilt with her last time.  Doh. 

Seaside Squares quilt by Andy @ A Bright Corner

 I got in touch with the customer and we worked out a solution - one in which I happily got the chance to make this Seaside Squares quilt again.  As I was making it I realized two things:

#1:  I'm SO glad that I take detailed notes as I'm making each quilt.
#2:  I've never re-made the EXACT quilt before.  Ever.  

It was kinda fun!  I liked the challenge of tracking down the different prints from several online shops and retracing my steps as I created a twin sister to the original Seaside Squares.

Seaside Squares quilt by Andy @ A Bright Corner

Both finished quilts measure about 64" x 64".  Both are now happily living in their new homes.  And I have now double and tripple checked to make sure all of the quilts listed in my Etsy shop are actually here and ready to be shipped!  

Seaside Squares quilt by Andy @ A Bright Corner

Monday, March 17, 2014

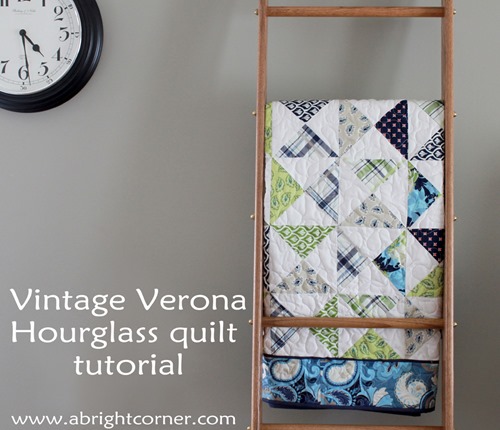
Vintage Verona hourglass quilt

Vintage Verona hourglass quilt

Happy St. Patrick’s Day friends!  Hope you’re wearing green today.  I know I am.  There’s plenty of little pinching fingers around here ready to catch anyone NOT wearing their green!  As it so happens, even the quilt I’m sharing with you today has green in it.  How ‘bout that! 


Vintage Verona hourglass quilt tutorial

And as promised, a free printable version of the pattern!  You can find it here.

When I was adding the borders to this quilt, I felt it needed a little bit more navy to help frame center portion of the quilt.  So I decided to add a flange.  It’s quick and easy and I love the way it looks.  Want to know how to do it?

How to add a flange to a quilt border - a tutorial from A Bright Corner

First, you’ll need to measure the length and width of your quilt top.  You will need to cut enough strips to go around the outer edge of the quilt.  For this Vintage Verona Hourglass quilt you’ll need at least 1/6 yard.  Remove the selvage and then cut 6 strips that are 1” x width of fabric. 

 How to add a flange to a quilt border - a tutorial from A Bright Corner

Now we’re going to sew those strips end to end but we don’t want to add bulk along that border so let’s join them with a diagonal seam.  Fold one end down to make a little 45 degree crease (just finger press – no need for an iron!)  Now sew along that line to join the two strips.

How to add a flange to a quilt border - a tutorial from A Bright Corner

It will look like this – pretty!

How to add a flange to a quilt border - a tutorial from A Bright Corner

Once all of your strips are joined, trim the excess fabric behind each seam.

How to add a flange to a quilt border - a tutorial from A Bright Corner

Now head to the ironing board.  Press this long strip in half lengthwise (wrong sides together) just like you do when you’re making binding.

How to add a flange to a quilt border - a tutorial from A Bright Corner

Time to sew the flange to the quilt top.  I like to add the flange to the sides of the quilt first and then the top and bottom. 

Start at the top right corner of the quilt.  Place the flange, raw edge facing out and lining up with the raw edge of the quilt.  That nice, folded edge of the flange should be facing in towards the middle of the quilt top.  Stitch, using about an 1/8” seam.  (If you were to use a 1/4” seam here, your stitching may show once you add the border.)

How to add a flange to a quilt border - a tutorial from A Bright Corner

Continue stitching down the side of the quilt and backstitch when you get to the bottom corner.  Simply trim the flange even with the bottom edge of the quilt.  Then repeat for the other side of the quilt.

How to add a flange to a quilt border - a tutorial from A Bright Corner

Now we’ll add the flange to the top and bottom of the quilt top.  Line up the starting edge of the flange like you did for the sides of the quilt.  The ends will overlap here like this:

How to add a flange to a quilt border - a tutorial from A Bright Corner

Continue stitching along until you come to the next corner.  Trim the flange like you did before.  Your finished corners will look something like this:

How to add a flange to a quilt border - a tutorial from A Bright Corner

Now repeat until all four sides of the quilt have the flange attached.

Now just as an FYI, you can add a flange to the inside of a border (like I’m showing here) or you can add it to the inside of a quilt binding.  Also cool.  If this flange were going to be inside of a binding, you would follow the steps above, and then add your binding as you do normally. 

For us, we will follow the instructions on the pattern to add the quilt borders.  Consider the flange just a part of the quilt top.
 
Sew the border on as you would normally do, using a 1/4” seam.

How to add a flange to a quilt border - a tutorial from A Bright Corner

Continue adding borders, following the pattern instructions.  The flange (pre-pressing) will look like this:

How to add a flange to a quilt border - a tutorial from A Bright Corner

Give the quilt top a nice press, especially right along that edge between the flange and the border:

How to add a flange to a quilt border - a tutorial from A Bright Corner

And your quilt top is ready for quilting!

How to add a flange to a quilt border - a tutorial from A Bright Corner

I love that little extra detail that the flange adds to a quilt!  I see more flanges in my future!

How to add a flange to a quilt border - a tutorial from A Bright Corner

I’ve received a number of questions from this post about sewing equilateral triangles.  So this week I’ll have a quick project to show you that uses equilaterals.  For those of you that are new to Eq. triangles it will be a great way to get your feet wet without committing to a large, time (and money) consuming project! 

Happy sewing!


Related Posts Plugin for WordPress, Blogger...